
Fork Seal Driver Tools Instructions
STEP 1: Know what fork you have on your bike
The first step prior to performing a fork lower leg service on your MTB fork, including fresh wiper seals, is to know what fork you have on your bike. There are different efficient ways to get that information and we are confident you can do it!
Find the Technical Manual of your specific bike and fork
You read that right. Most of the bike and fork manufacturers will have a Technical Manual made specifically for your product. You should find a lot of useful information in these manuals such as part numbers, torque specifications, parts orientation, greases and oils (just to name a few).

A little more data on mountain bike forks (free stuff)
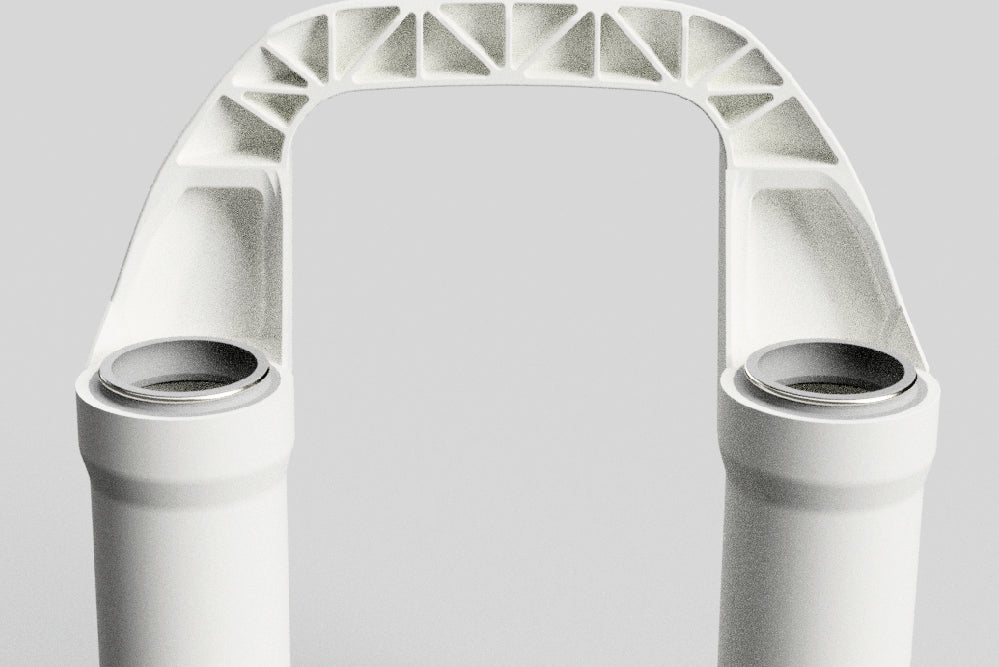
Most mountain bike forks are made of the followings: steerer tube, crown, stanchions and lowers. The amount of travel and the diameter of the stanchions will vary from one fork to another depending on its entended purposes and capabilities (XC/trail, all mountain, enduro, DH). When proceeding with a lower leg maintenance on your fork (also known as 50H service), you will need to know the diameter of the stanchions as this will determine the driver tool you need to push your new wiper seals in.
STEP 2: Select the proper Momentum Cycle Fork Seal Driver Tool for the job!
Once you know what stanchion diameter your fork has, simply select the proper driver tool from our Fork Seal Driver Tools collection (link here)! All Momentum Cycle Fork Seal Driver Tools are clearly identified with the stanchion diameter they are meant to be used with.

STEP 3: Get your new fork seals in!
Always follow and refer to your Technical Manual when proceeding with your fork lower leg service. Once you get to the point of pressing your new fork seals in, start by mounting one seal at a time to your Fork Seal Driver Tool. Engage the Fork Seal Driver Tool (with the seal on) into the lower leg of the fork. Our Fork Seal Driver Tools are made to use the upper fork bushing as a guide, helping eliminate crocked seal installation.
*Note that our Compact Fork Seal Driver Tools will not engage through the upper fork bushing due to their compact dimension.


Press firmly on the Fork Seal Driver Tool to insert your new dust wiper seal into the lower leg. You should be able to do this using only your hands. If necessary, use a soft rubber mallet to gently tap on the driver tool's top flat surface. Excessive force should never be used. Do not use a hard mallet or hammer as they can cause failure and will void the warranty.
Press the dust wiper seal in until it sits flat with the fork lower leg. Note that the tool head of our Fork Seal Driver Tools is just slightly larger in diameter than the seals it will be used with. This ensures you don’t go too far during the installation and gives you a perfect fit of the seal on your fork.
Once you are done, take a look at your job to ensure your new dust wiper seal is sitting completely and properly in its housing.

Repeat "STEP 3" for the 2nd dust wiper seal installation.
STEP 4: Complete your fork lower leg service following the Technical Manual of the fork manufacturer
*Additionnal information: When assembling your bike, always refer to your Technical Manuals to tighten everything at the manufacturer specs.
STEP 5: Go ride!
Disclaimer: Momentum Cycle Tools and Bike Parts has no liability, under no circumstances, for any damage or injury resulting from the use of our tools and products, or as a consequence of incorrect installation or improper use, to any other product used in conjunction with our Momentum Cycle Fork Seal Driver Tools. It is the responsibility of the purchaser and user to ensure that our tools and products are used properly and safely. Our tools should be kept away and out of reach of children.